After learning about all the benefits of the inflatable trench shield, let’s find out how it’s installed! And, you’ll see, it’s much easier than rigid one! Enjoy your reading!
Composition of the inflatable trench shield protection kit
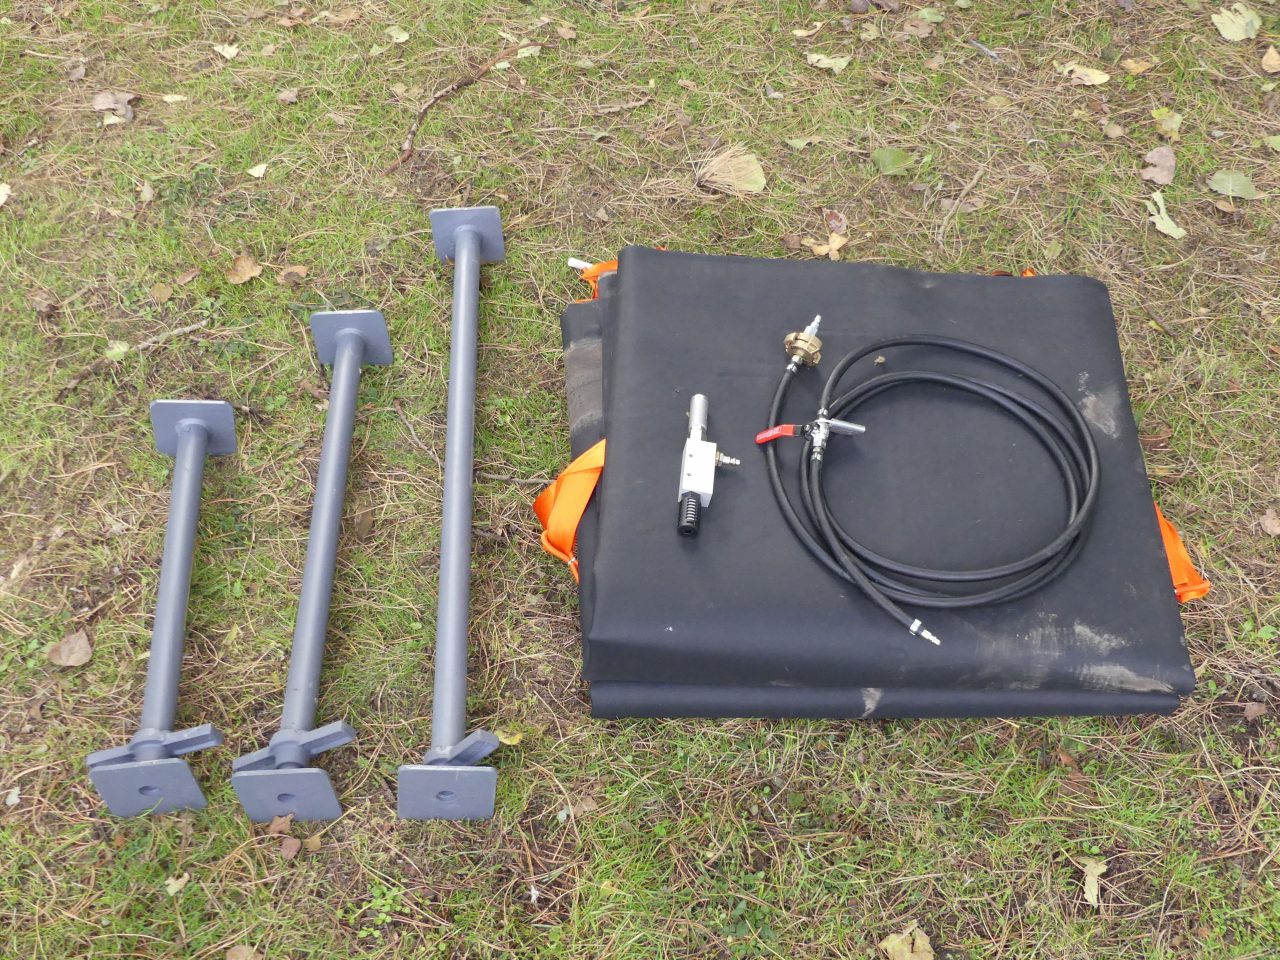
This alternative to rigid trench shield is composed of:
- 2 cushions made from coated fabric; assembly is then done by autoclave vulcanization
- 1 supply line for inflation
- 1 venturi for quick deflation
- 4 struts: different sizes are possible: 60/90 cm; 80/110 cm; 110/140 cm
In order to ensure a safe, fast and efficient installation, think about these additional and necessary materials:
- A ladder to climb down and up the trench
- A compressor for inflation
- Protective barriers
- Personal Protective Equipment (PPE) for the operators
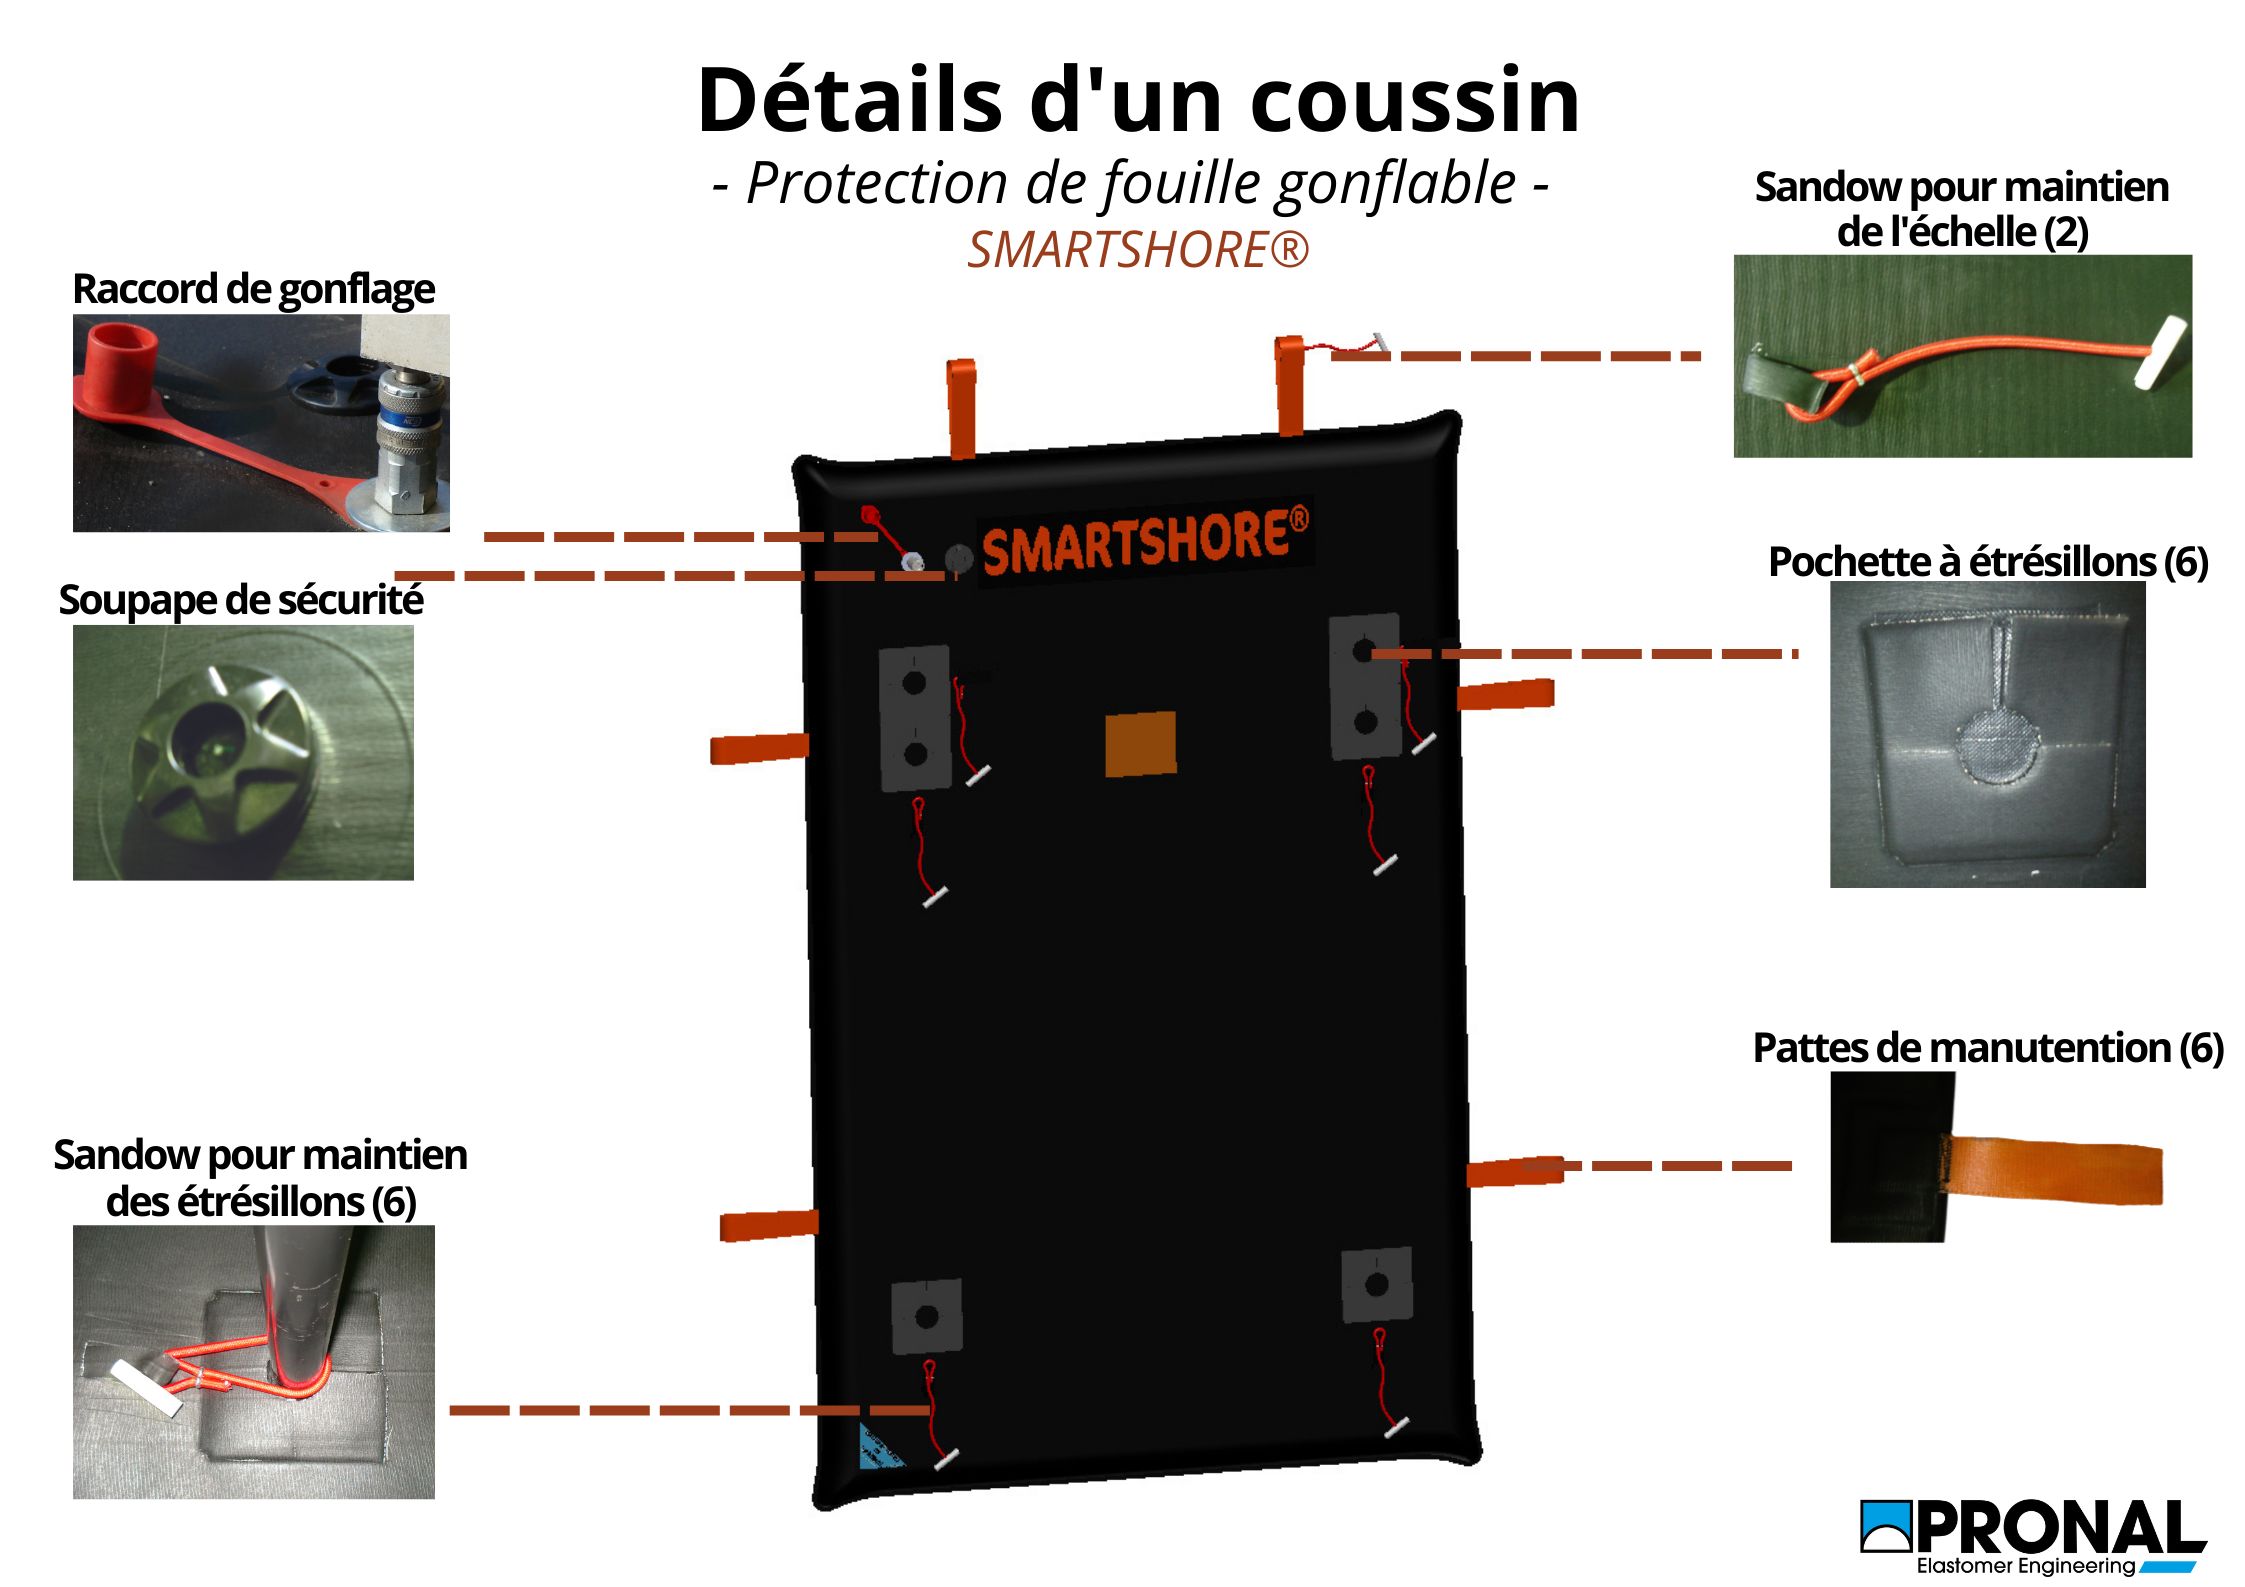
Details of a cushion
For a good and safe installation: it is important to know the product in detail:
| Dimensions flat (mm) (mm) | Dimensions inflated (mm) | Dimensions rolled up (mm) | Weight (kg) | Thrust resistance (kN/m2) |
Air volume (Liters/Niters) |
Inflation pressure (bar) |
| 2230*1420 | 2160*1380*125 | ⌀ 200 | 13 | 12 | 400/800 | 1 |
Recommendations for use
Before each use, we advise you to check:
- The presence and integrity of the handling lugs
- The good state of cleanliness of the valve and its protection grid
- The good condition of the cushions (no cuts, wear or abnormal deformations)
We remind you that it is strictly forbidden:
- to use the installation incomplete or not braced
- to use the folded cushions
- to link the modules together
- to install the cushions on top of each other
=> For your information: Any abuse, negligence or contrary to the manufacturer’s recommendations, any problem arising from damage caused in transit, do not engage the responsibility of the manufacturer or the company distributing the SMARTSHORE® protective pads.
In order to use this alternative to rigid trench shoring, the trench must have the following characteristics
- Maximum depth: 2 meters
- Maximum width: depending on the struts
- Temperature range: -5 to 80°C
When installing the trench protection, it is necessary:
- to leave a 15 cm plinth above the trench: to avoid tool fall in the trench
- to mark out a 40 cm zone around the trench: to avoid any risk of landslide
Now that you know the product in detail, its accessories and its recommendations for use, find out how to install it!
The Installation of the inflatable trench shield
First of all, depending on the trench and the work to be done, there are 2 types of configuration: horizontal and vertical.
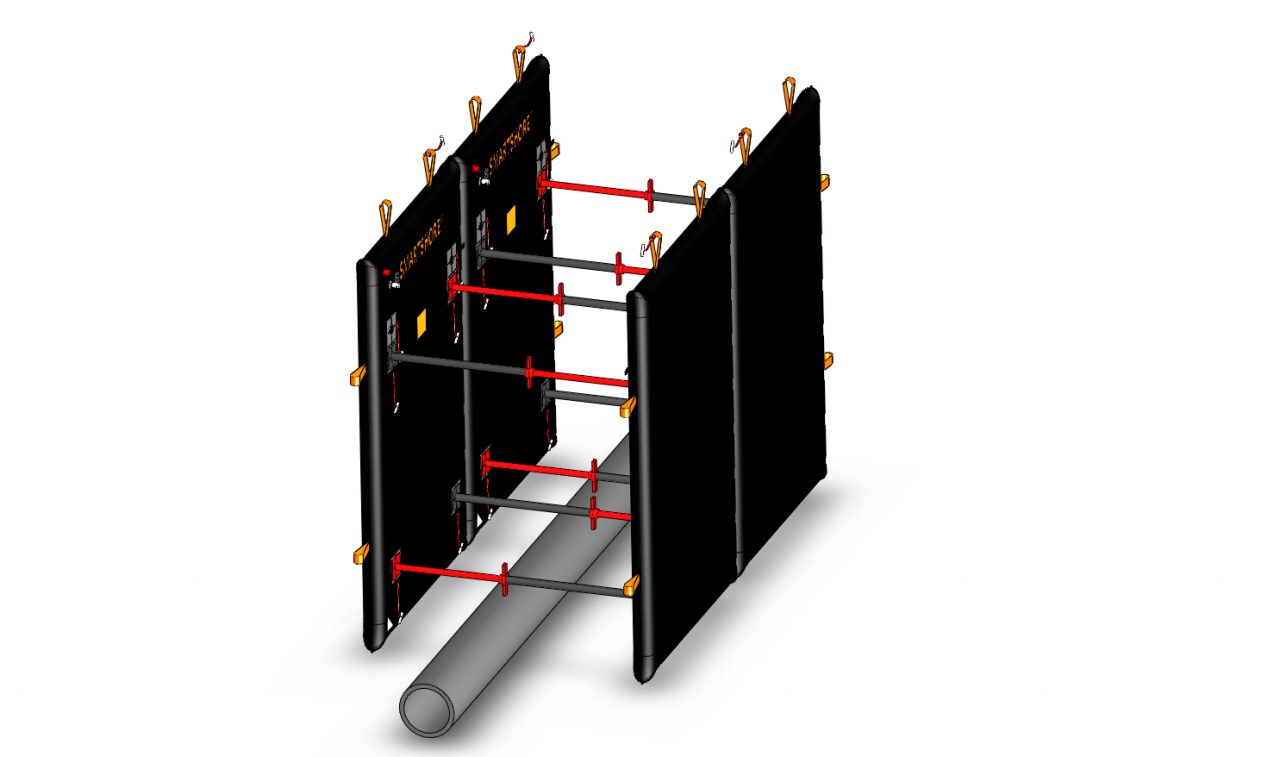
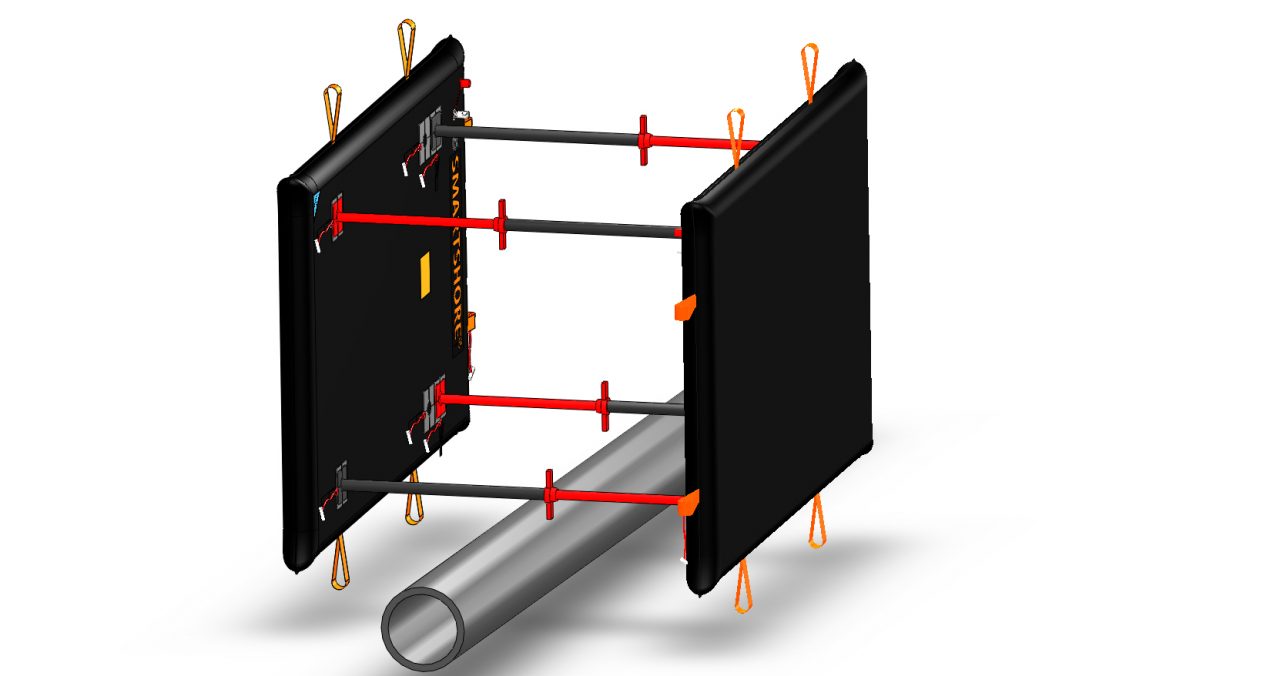
The installation of the inflatable solution is done in 2 steps:
- Outside the trench
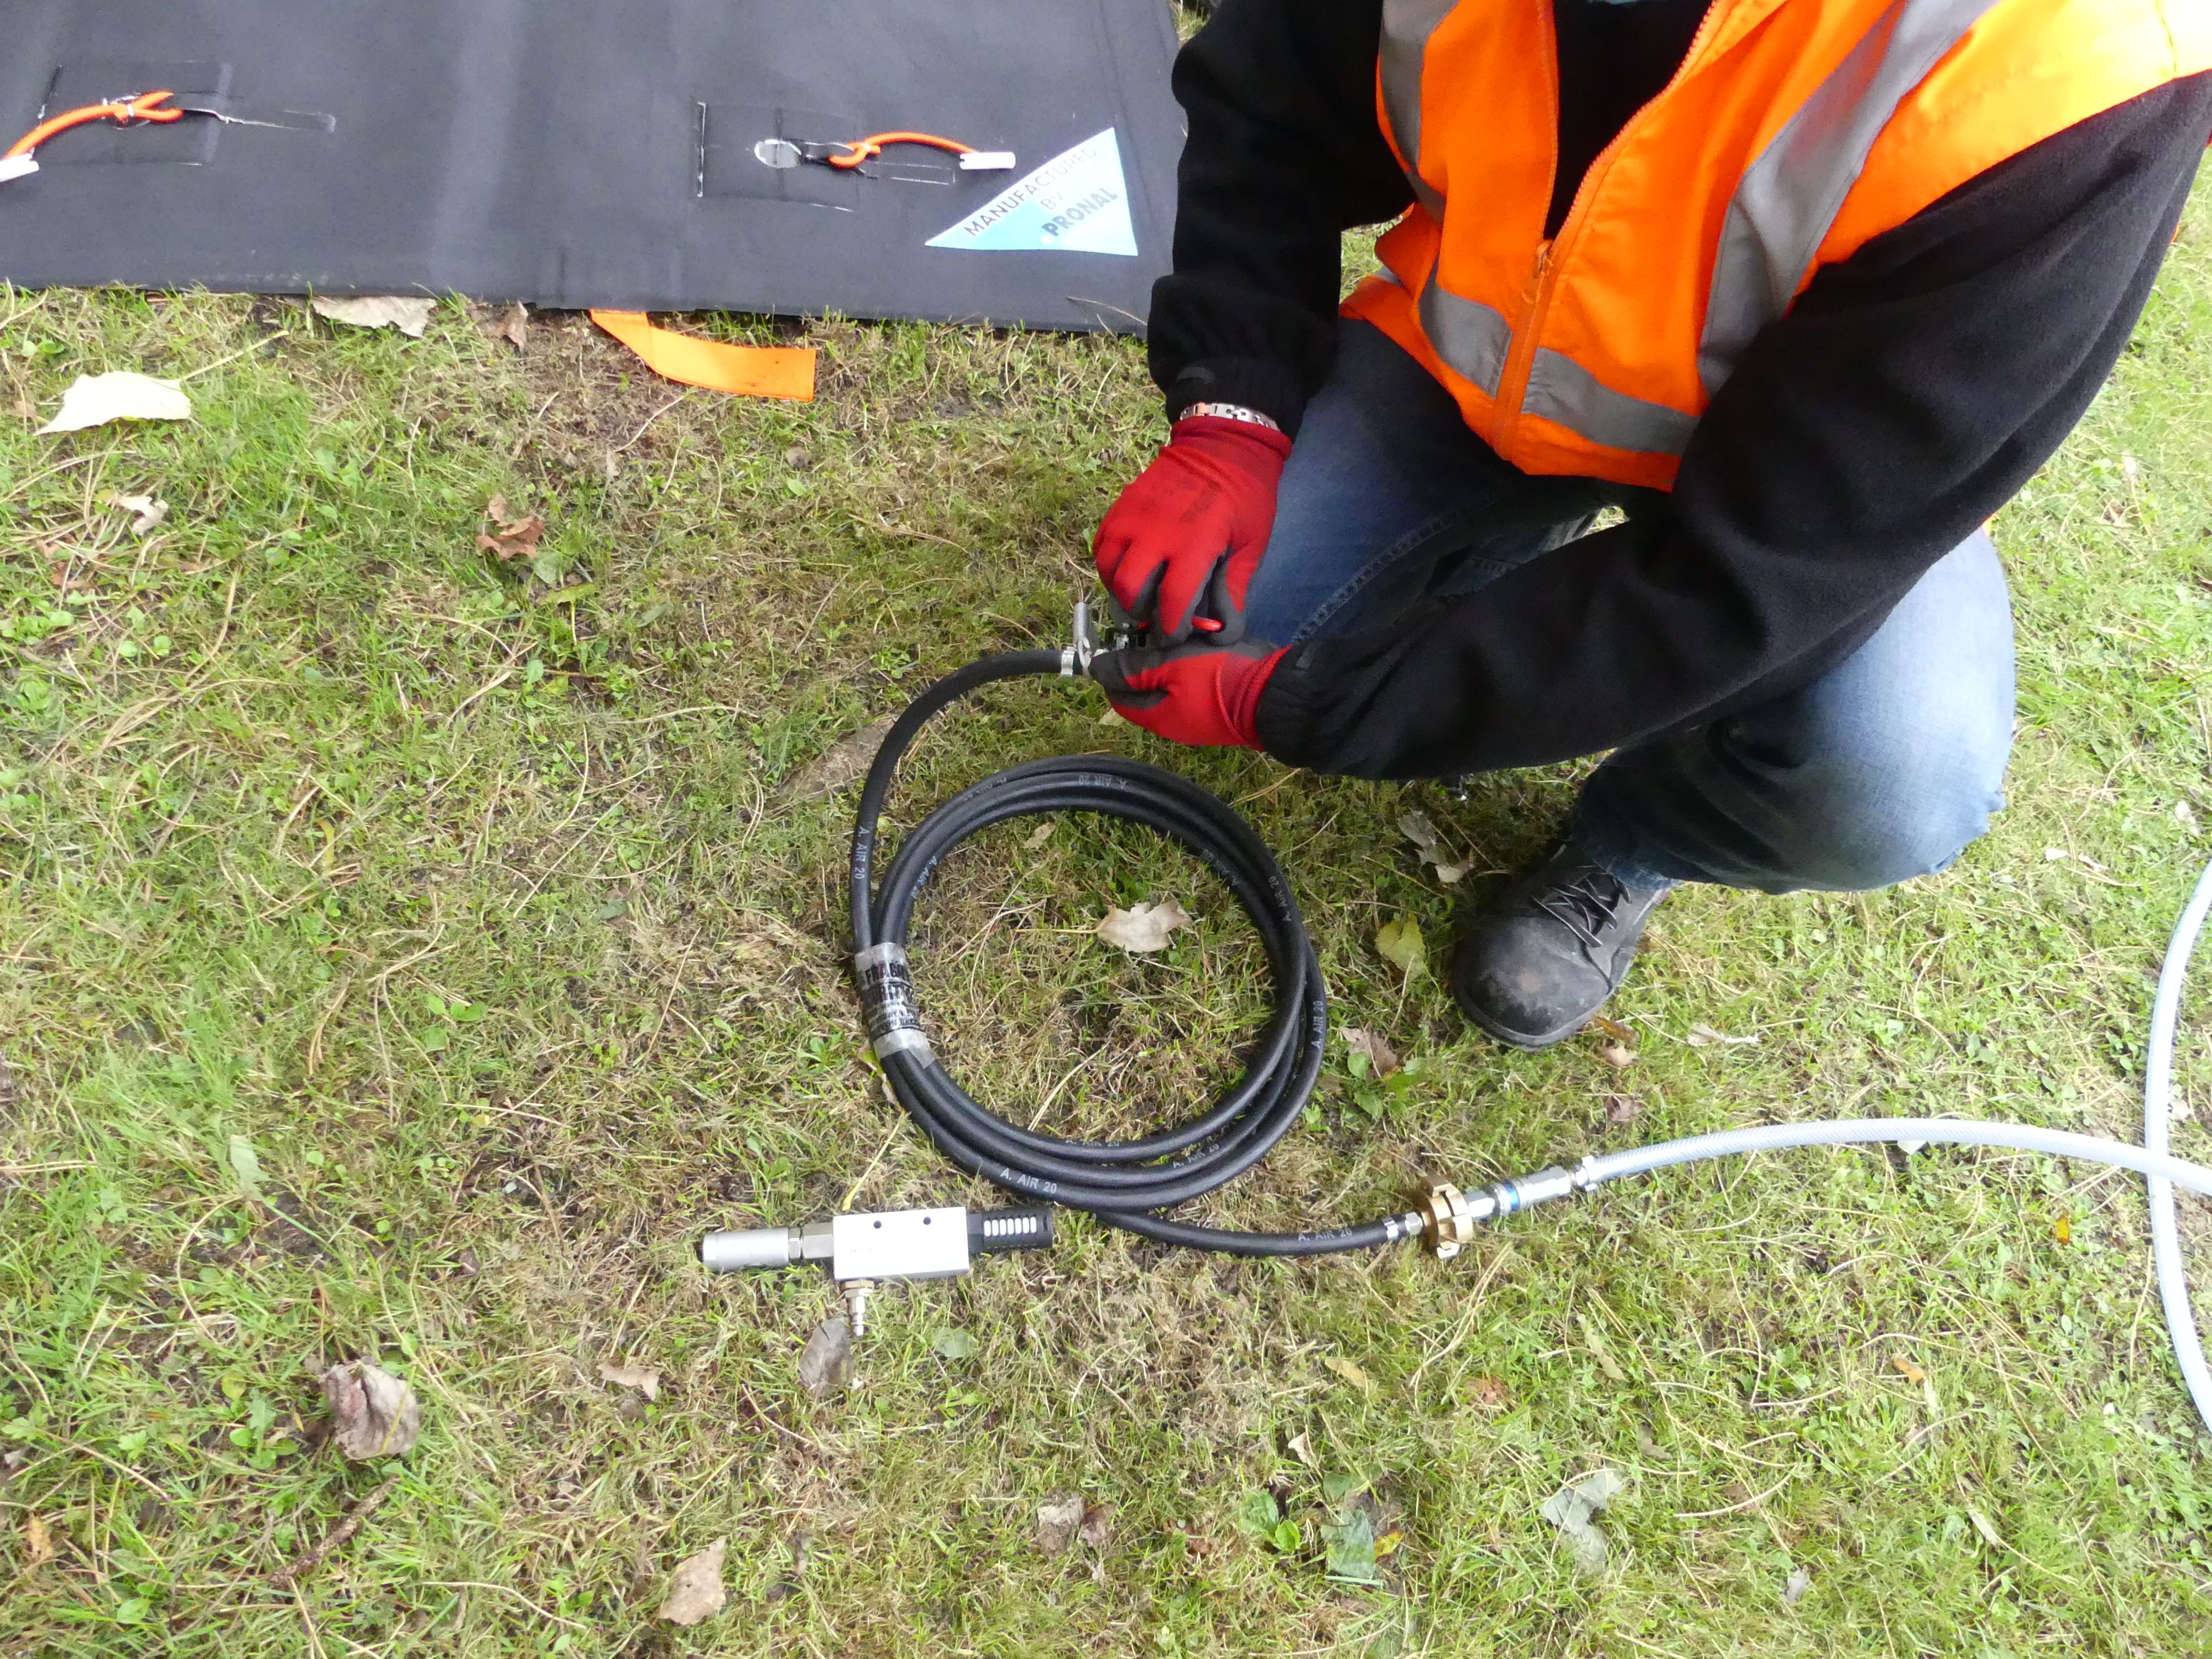
First, you need to connect the supply line to the compressor and the cushion inflation fitting. You will pre-inflate the cushions:
Next, you need to adjust the struts to the width of the trench. (Small point calculation: Trench width – (cushion thickness X 2))
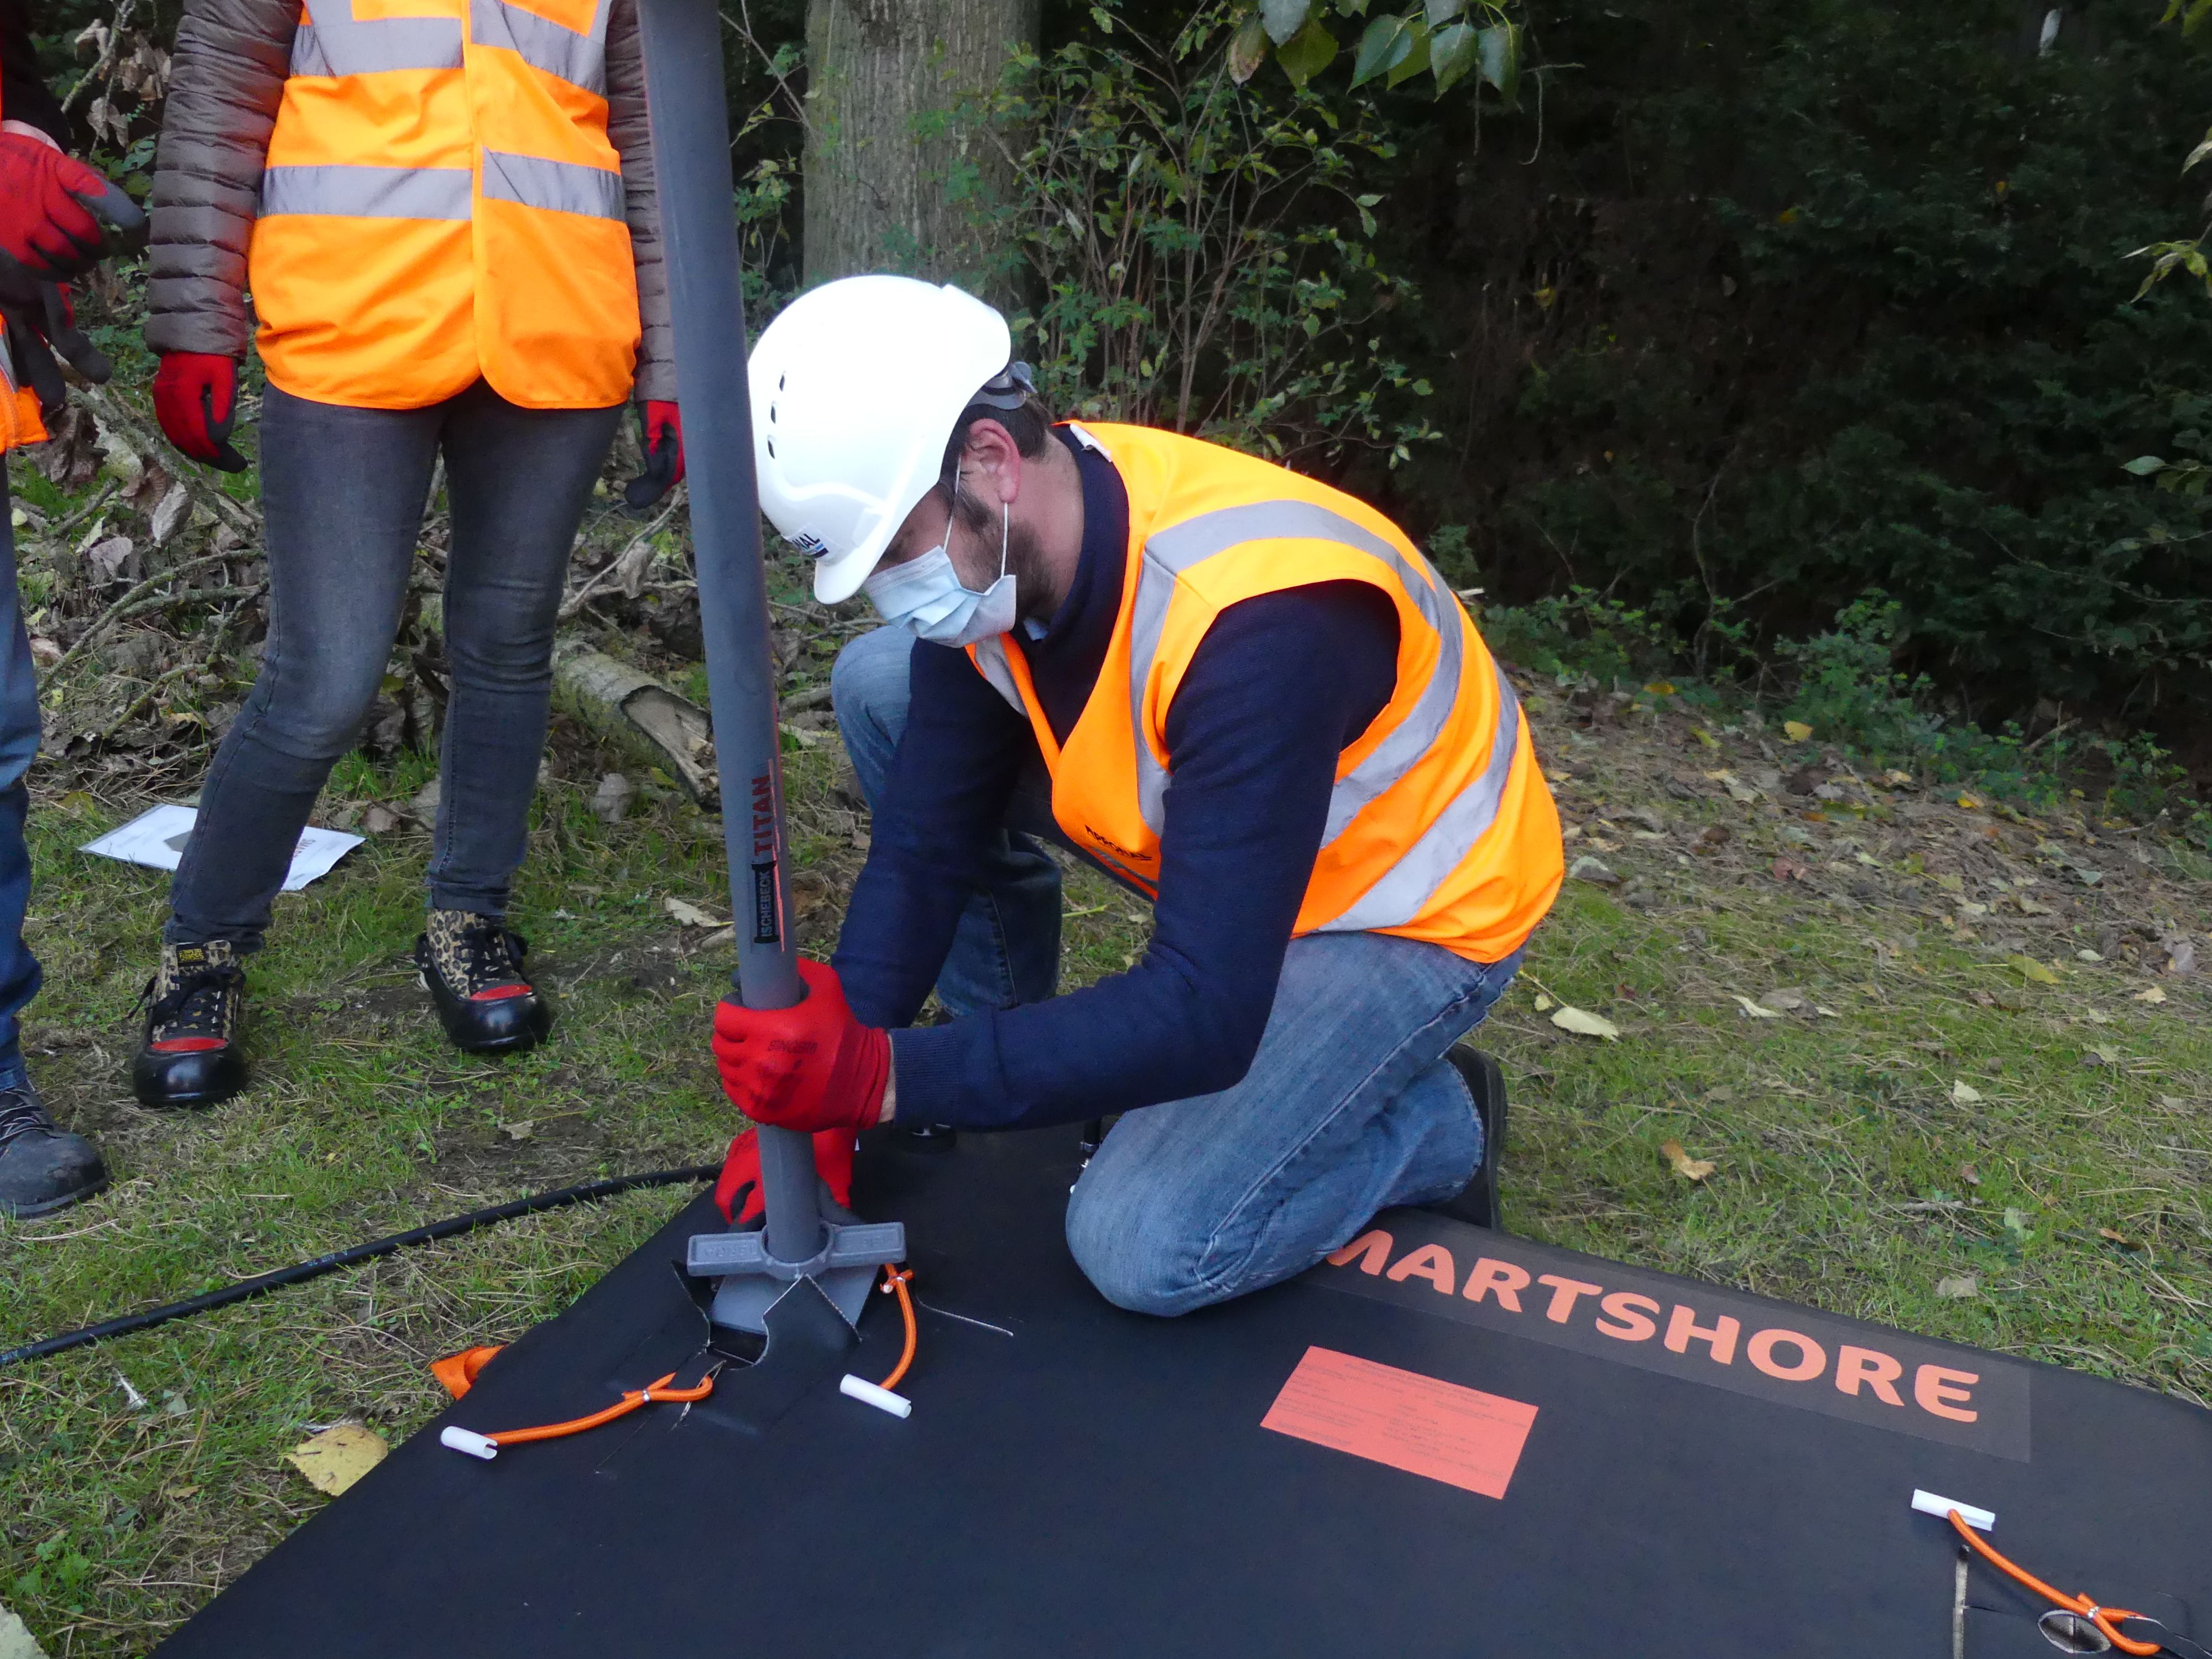
Assemble the two cushions in pairs, sliding the struts into the pockets provided. The use of struts is mandatory!
Be careful to lock the modules together. Place the bungee cords around the struts. This will keep them in their pockets.
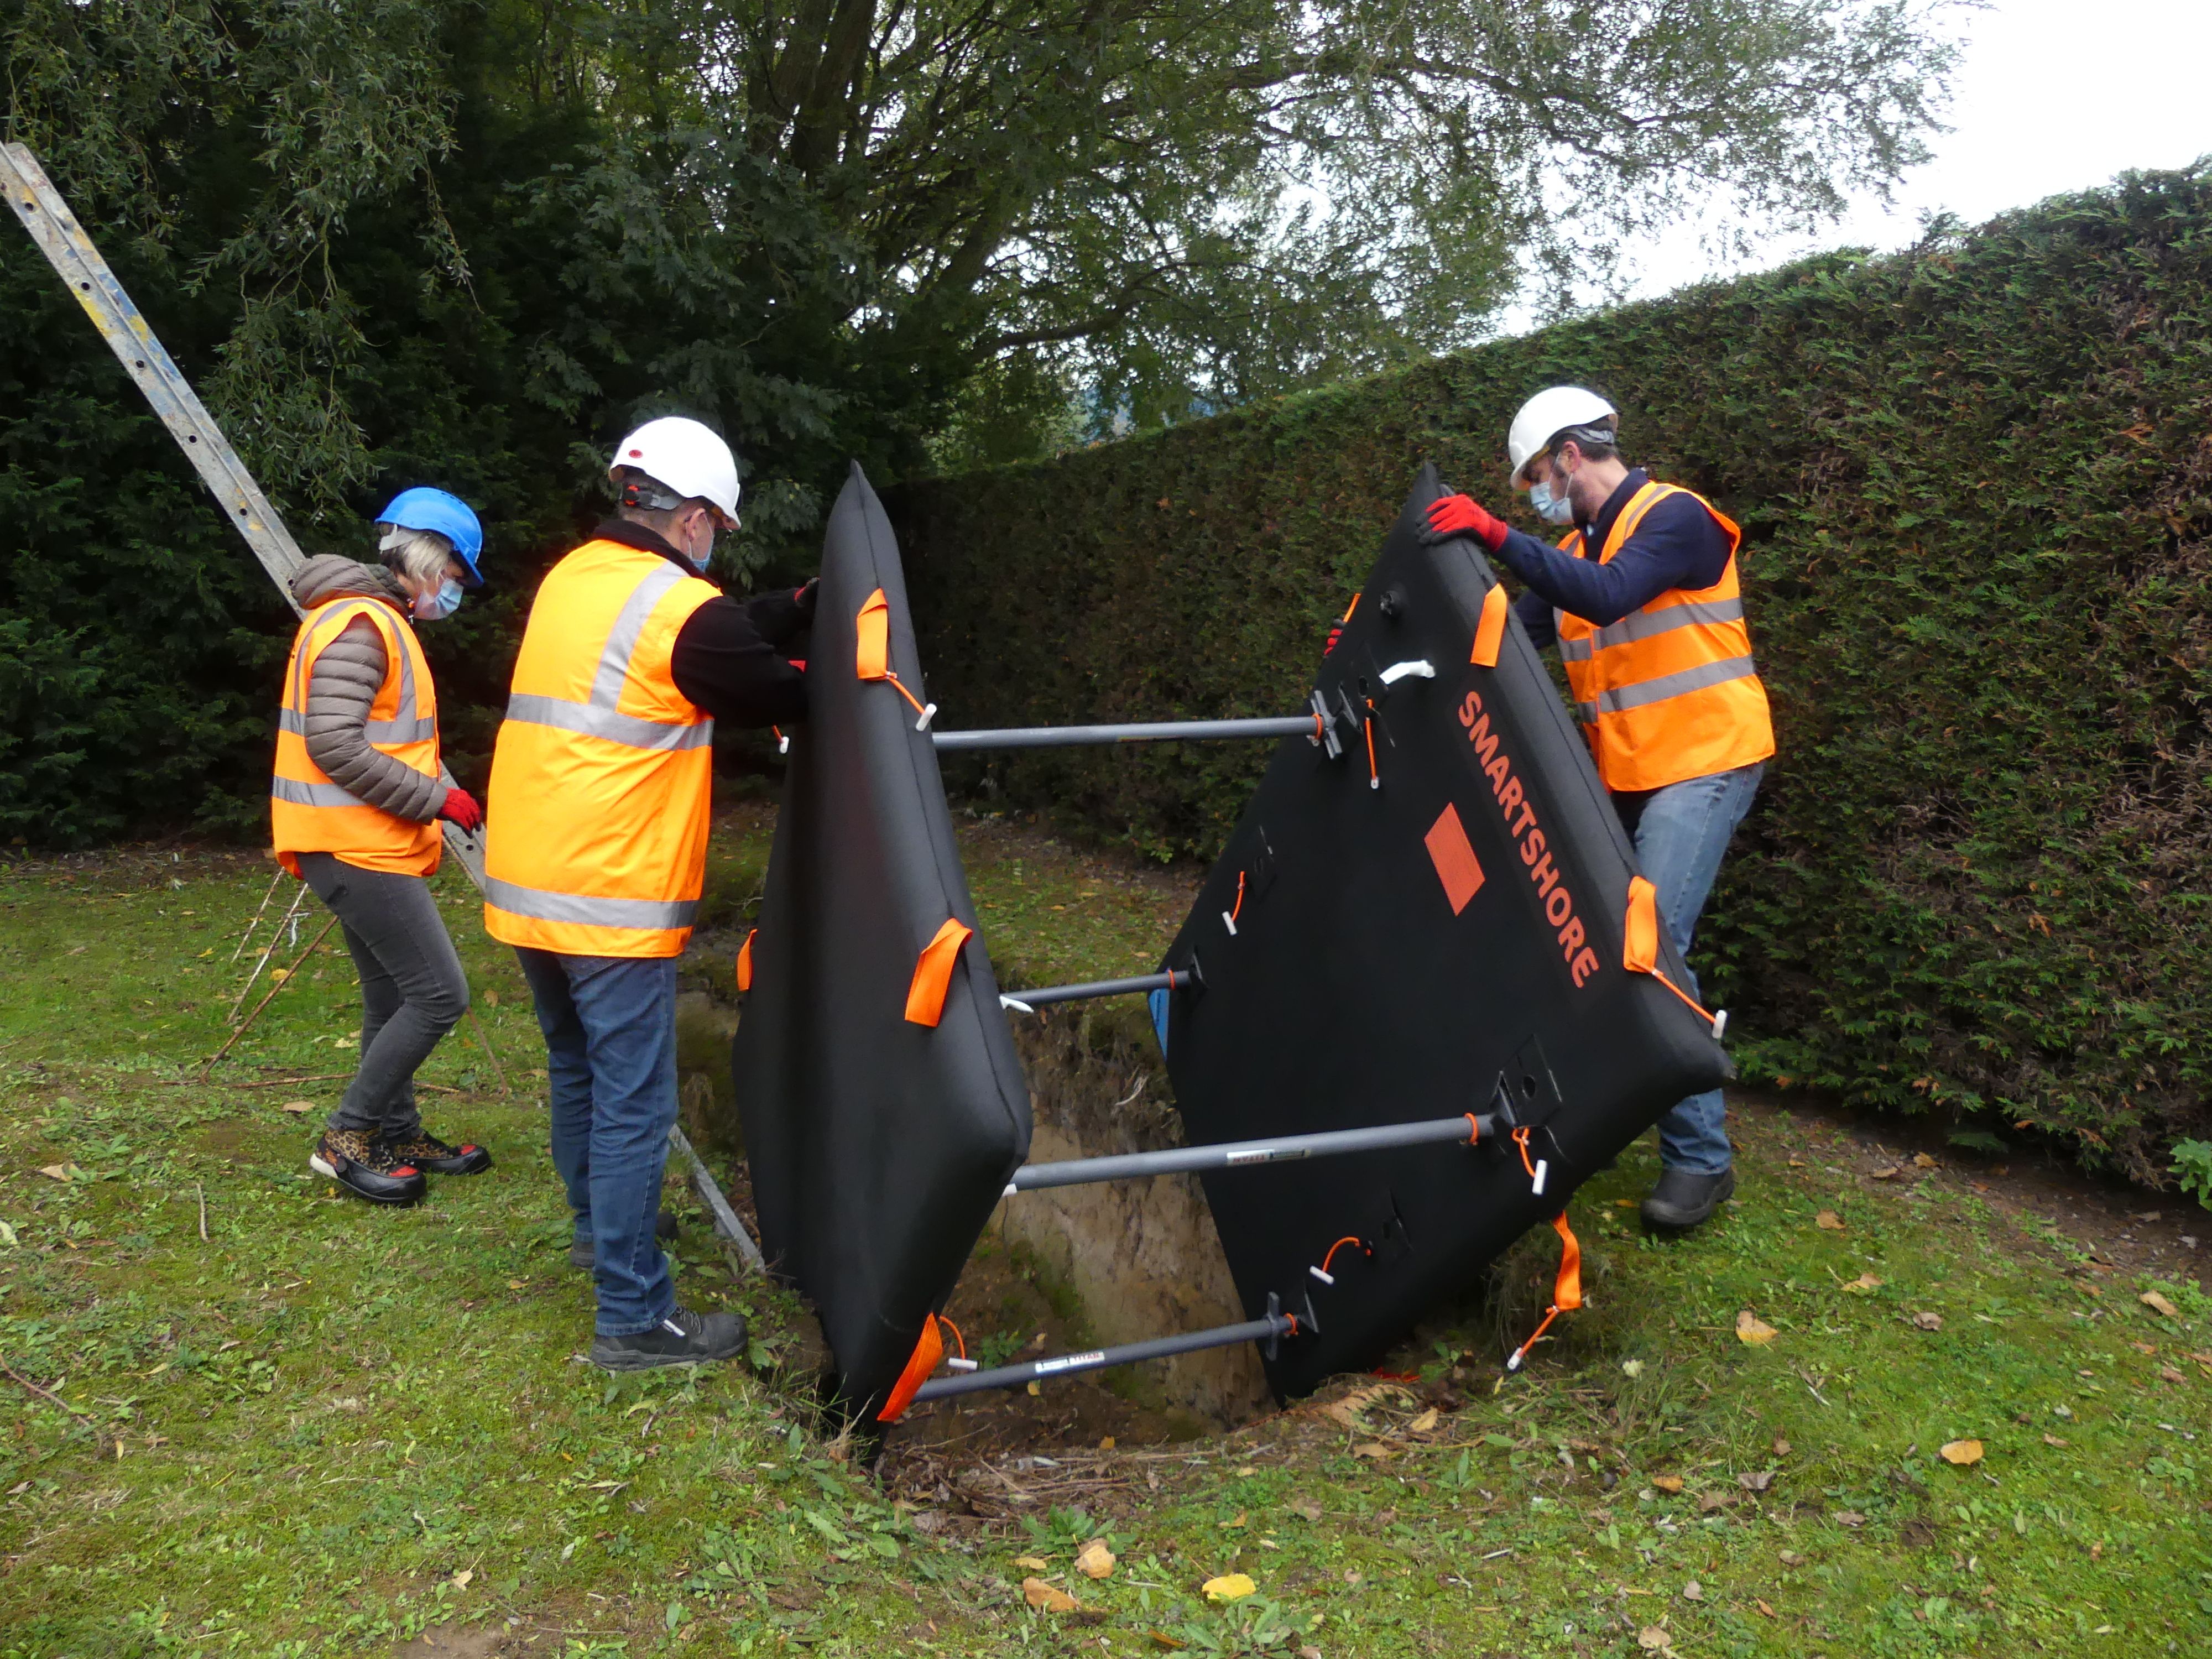
Finally, lower the product into the trench by carrying it with the handling legs.
- Inside the trench
Once in the trench, you can finish inflating. Reconnect the supply line to the cushion and inflate until the valve is triggered. When the valve whistles, you can close the air valve, disconnect the nozzle and finally put the protective cap back on the inflation nozzle.
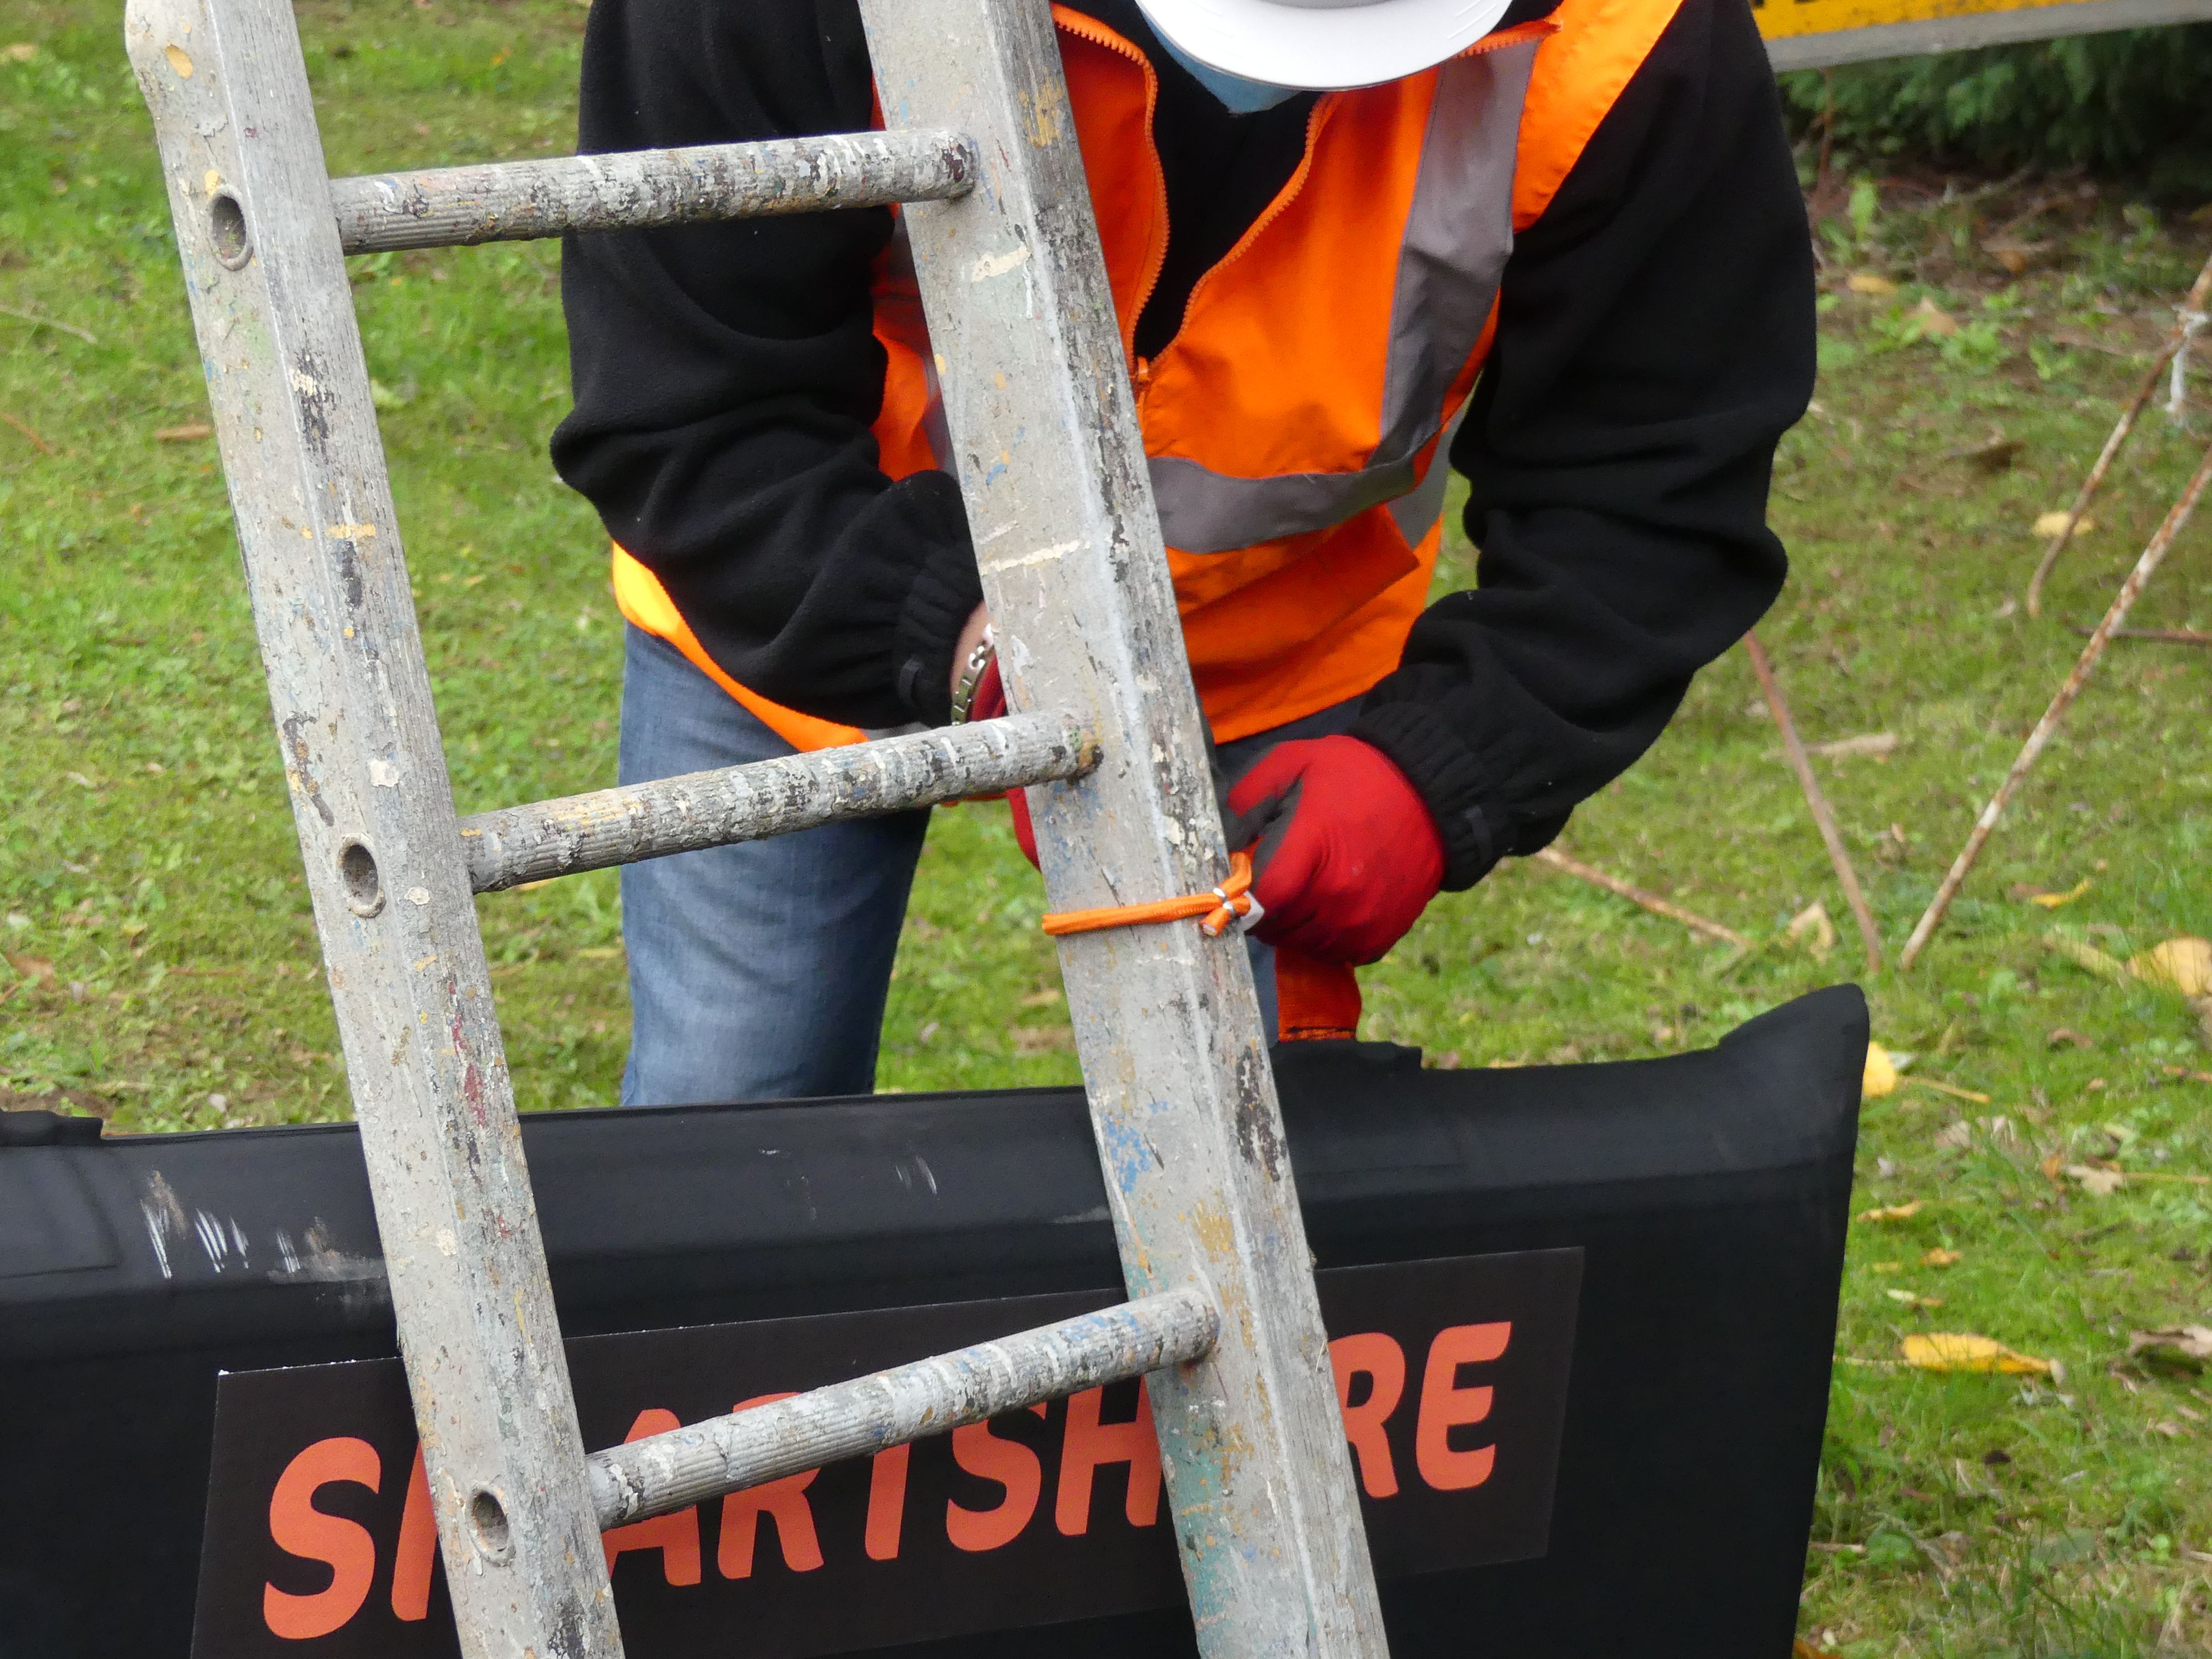
To climb down and back up from the trench, attach the ladder to one of the upper handling legs of the cushion with the bungee cord provided.
Dismantling the system
When you have finished the work in the trench, it is time to dismantle the product!
- Remove the bungee cord from the ladder to get it out of the trench
- Partially deflate the cushions: connect the venturi to the supply line and then connect the assembly to the cushion; open the air valve; once the cushion is free of the walls, you can close the valve.
- Take the product out the same way you took it down: with the help of the handling legs. Then put it on the floor.
- Then dismantle the modules by taking the struts out of the pockets.
- Finish deflating the cushions. You can now fold them or roll them up.
- Finally, store the cushions and all its accessories in a box or in the transport and protection cover.
Now you can safely install and dismantle this inflatable trench shield ! Pretty easy, right?
Also, find out how to install a plug or use a lifting cushion !